Best Camera Settings for Alaska Whale Photography
Are you looking for a good starting-point on how to set up your camera for your whale watching trip during your Alaska cruise?
Then let’s dive in!
When I’m photographing whales in Alaska, I like to keep my settings fairly simple, so I can focus on being ready for the moment and enjoying the experience. In this post, I’m going to review how I like to set up my DSLR / mirrorless camera before I even get on the boat. That way, I’m not fumbling with settings while the action is happening.
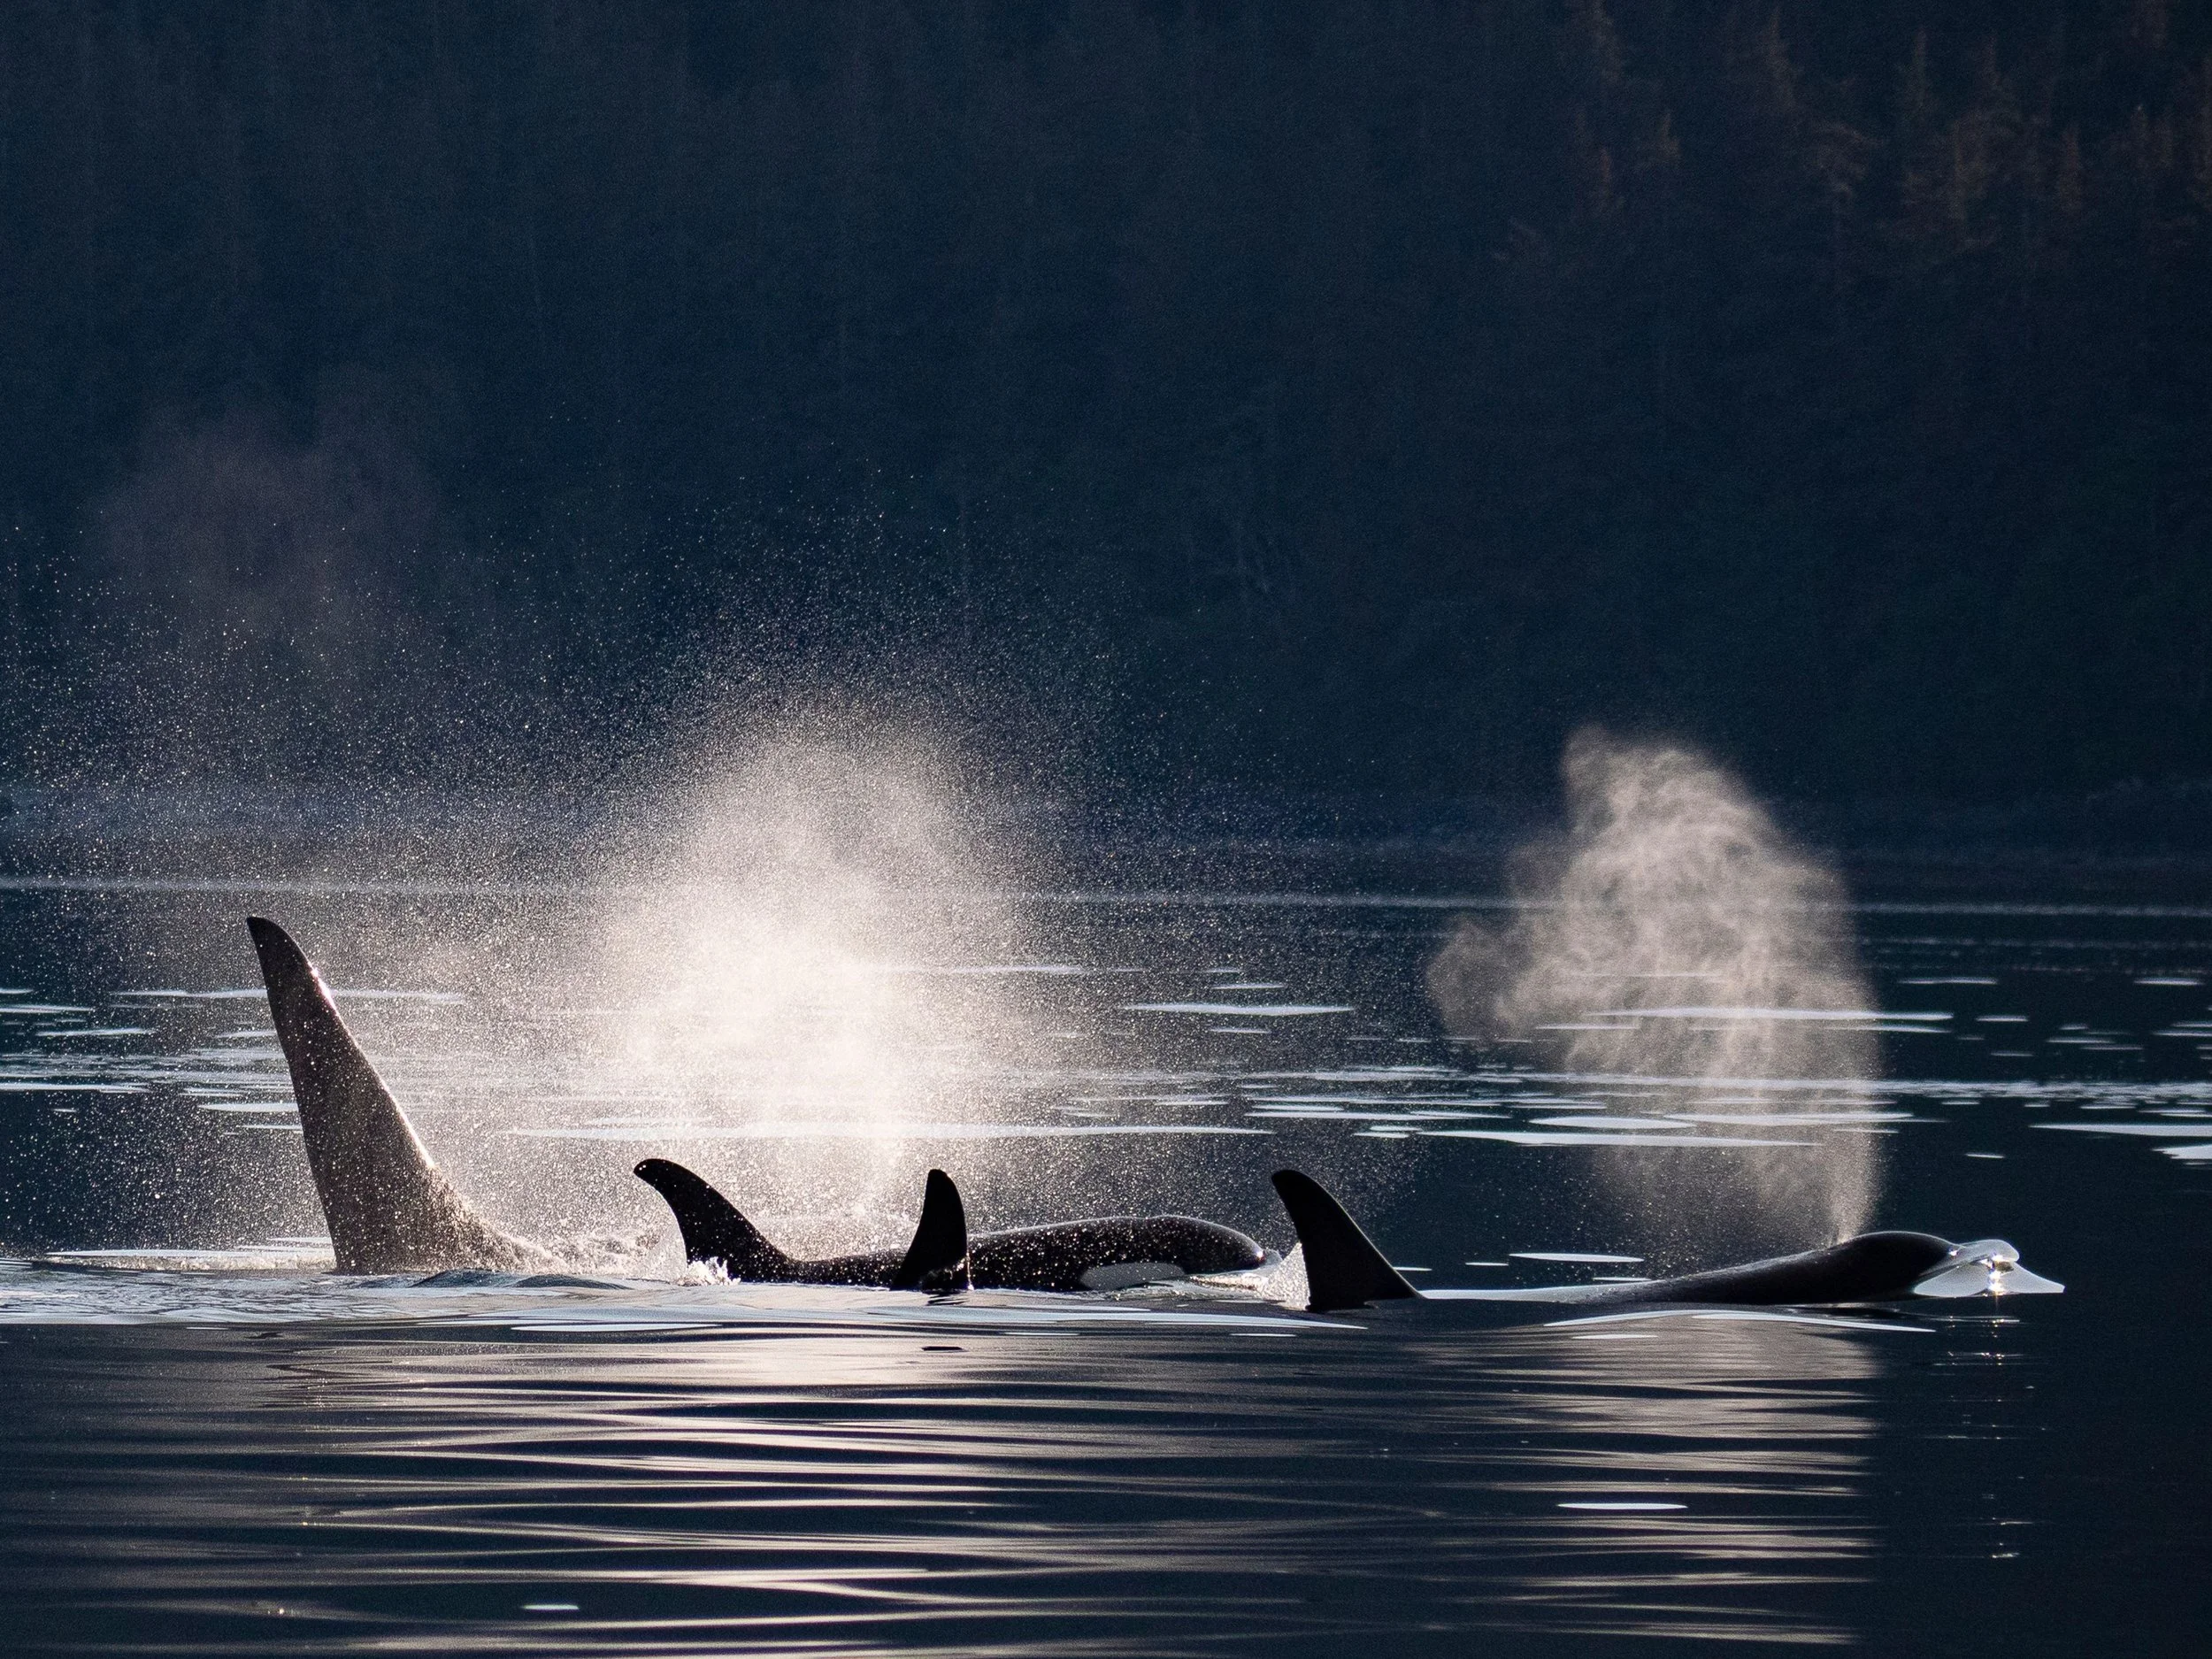
Photo taken in shutter priority mode with a shutter speed of 1/2000sec
First, switch into shutter priority mode and set you shutter speed to somewhere around 1/2000sec. Shutter priority mode is going to be the “S” on many camera dials, or the “TV” if you have a Cannon camera. This mode allows you to manually select your shutter speed while the camera adjusts your aperture automatically, meaning if the lighting changes during your trip, your camera will keep the exposure balanced. 1/2000sec is fast enough to ensure that regardless of how fast the wildlife (or boat) is moving, your image will come out clear and not blurry.
Second, turn on continuous autofocus - your camera may display this as AF-C or AI-Servo (for Cannon cameras). Once this is turned on, your camera will continue to focus and track your subject when you press the shutter button half way down. This is very helpful when photographing whales that are surfacing, taking breaths, and preparing to dive down to feed.
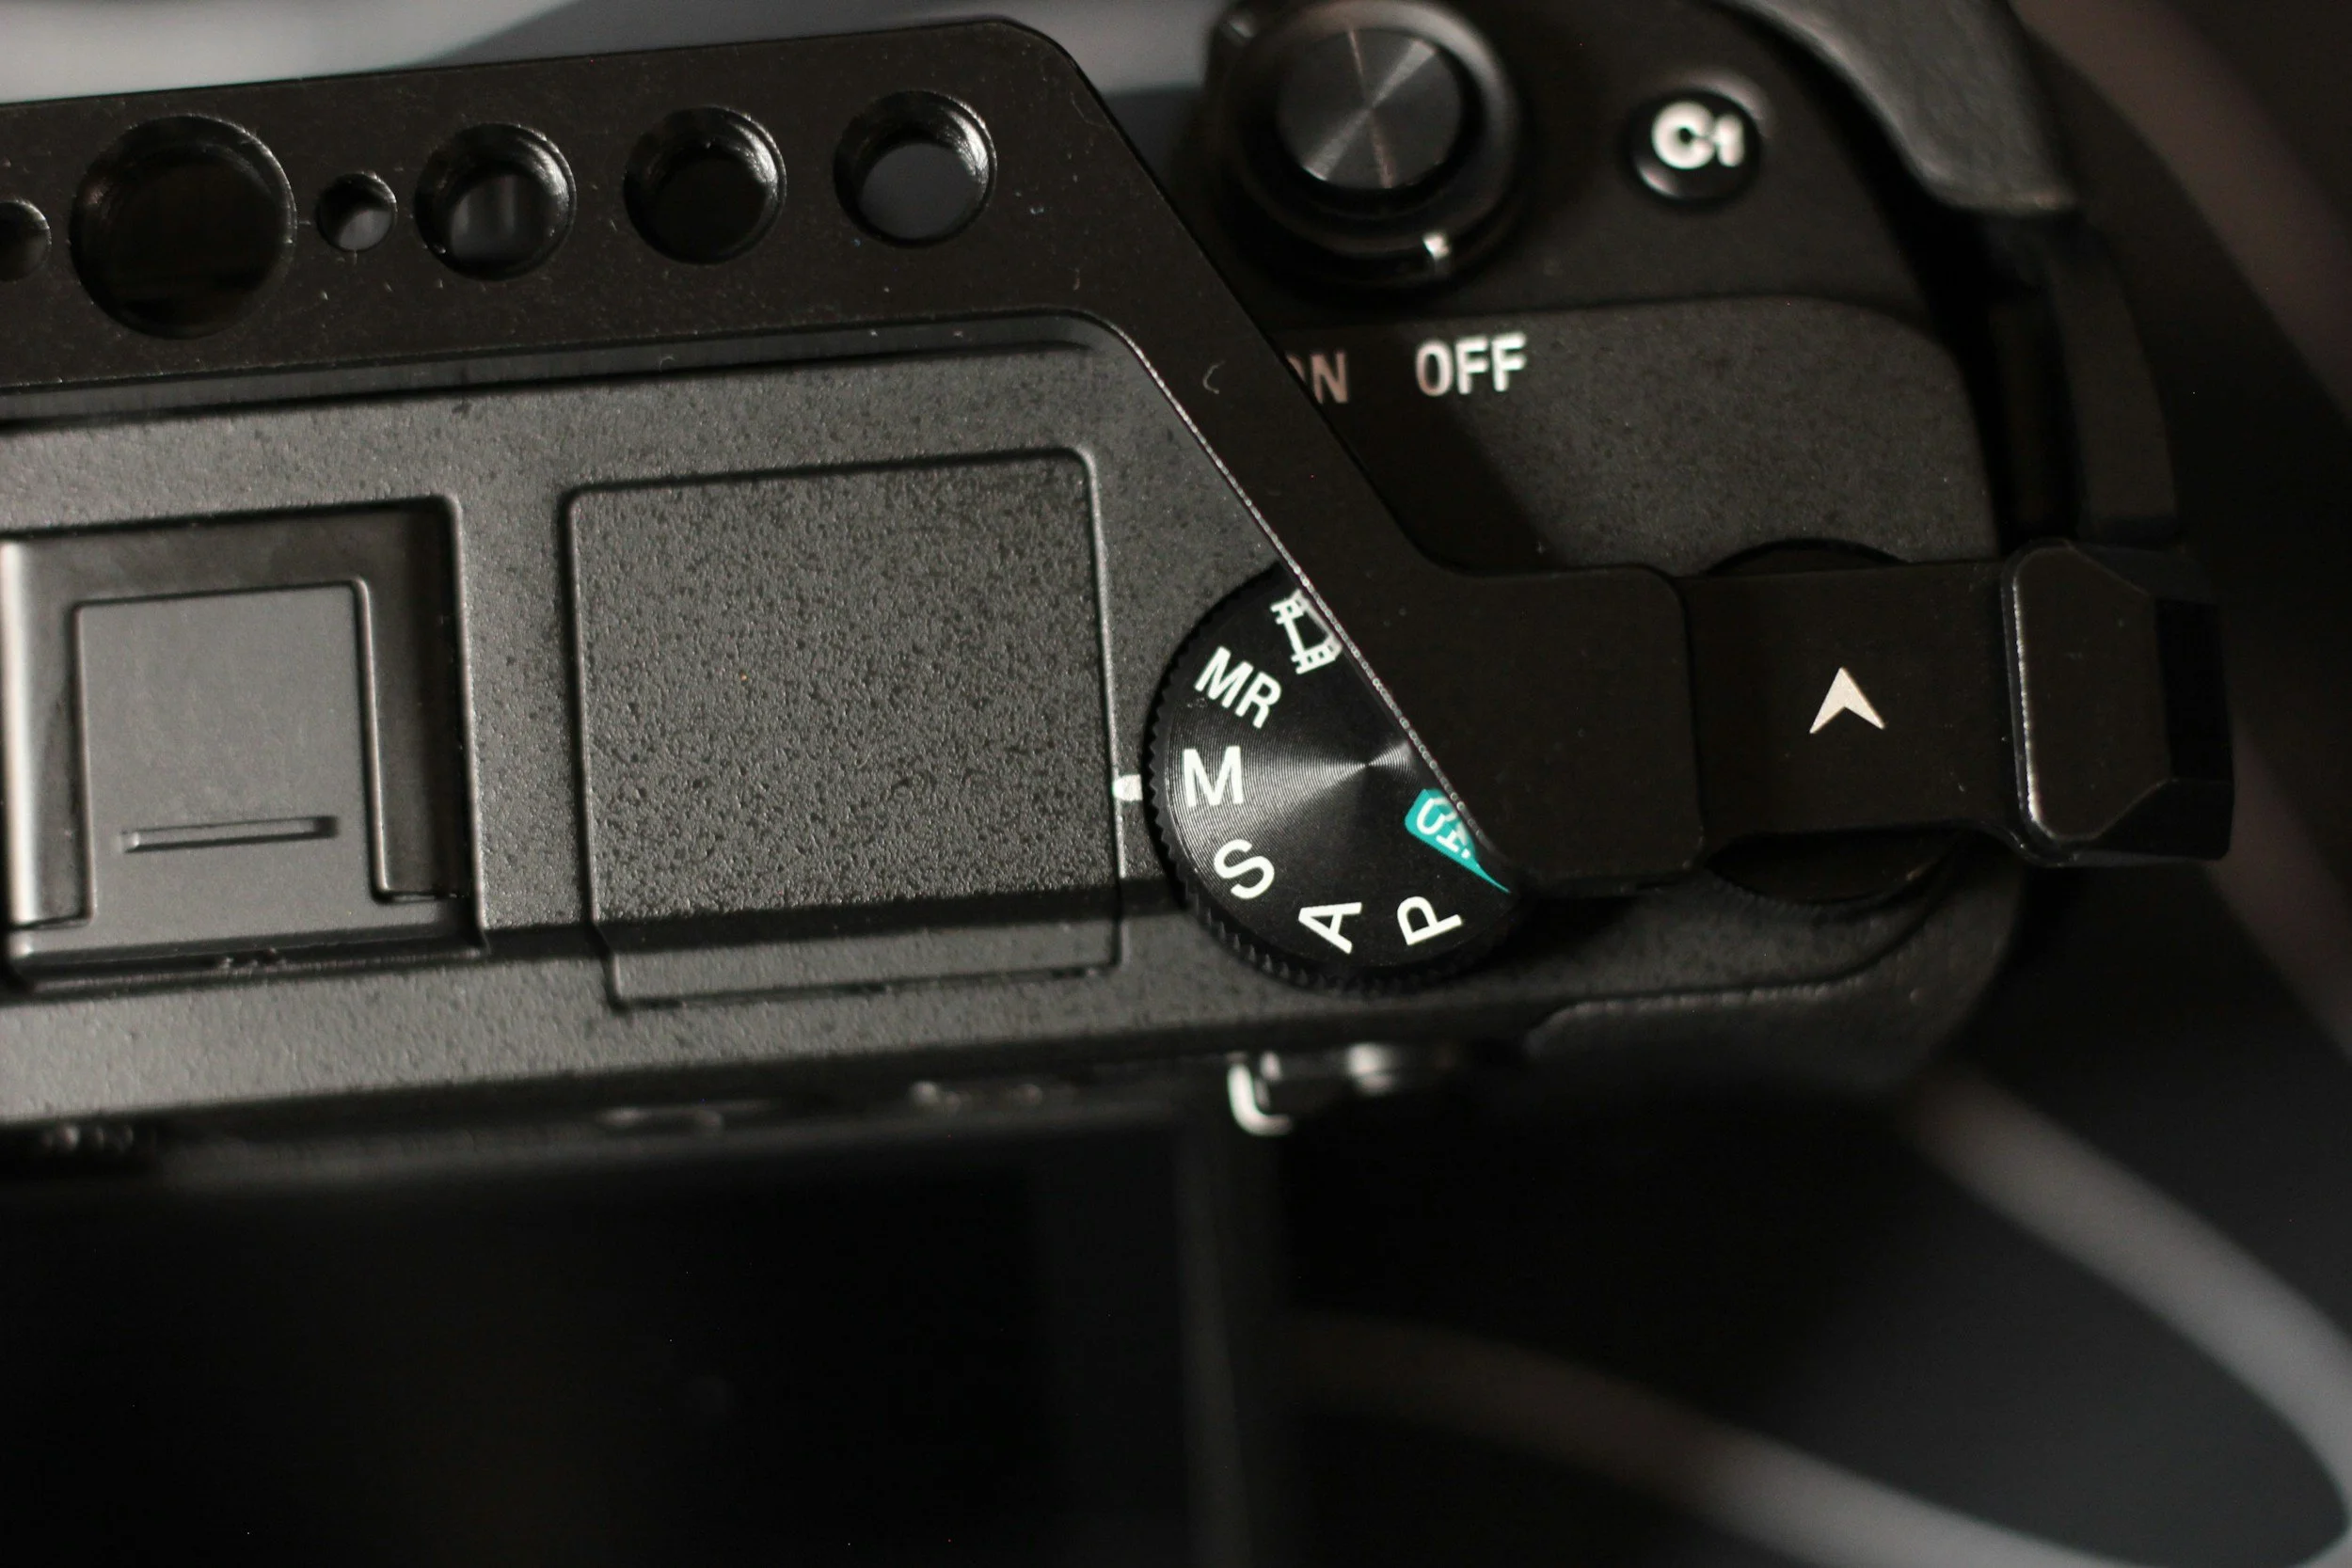
Align the “S” or “TV” on your dial with the white notch to switch into shutter priority mode
Third, turn on burst mode (also called continuous shooting) - Your camera may show multiple options such as Continuous High or Continuous Low. This mode takes several photos in rapid succession when you hold the shutter button down. This is incredibly helpful when you are photographing a whale breaching or diving, as you can start bursting right as the action begins, and get a sequence of photos. Keep in mind that how fast your cameras bursts is dependent on both your particular camera and the speed of your SD card, so I recommend practicing using this ahead of time to get a feel for it.
Lastly, take a look at your ISO setting, which is another way for your camera to adjust to different lighting conditions. If you have not manually adjusted your ISO before, I recommend setting it to Auto ISO. If you are whale watching during the day, your camera should have plenty of light to work with. If you are more advanced and regularly shoot manually, I’d continue to shift your ISO to a higher number as it gets darker out.
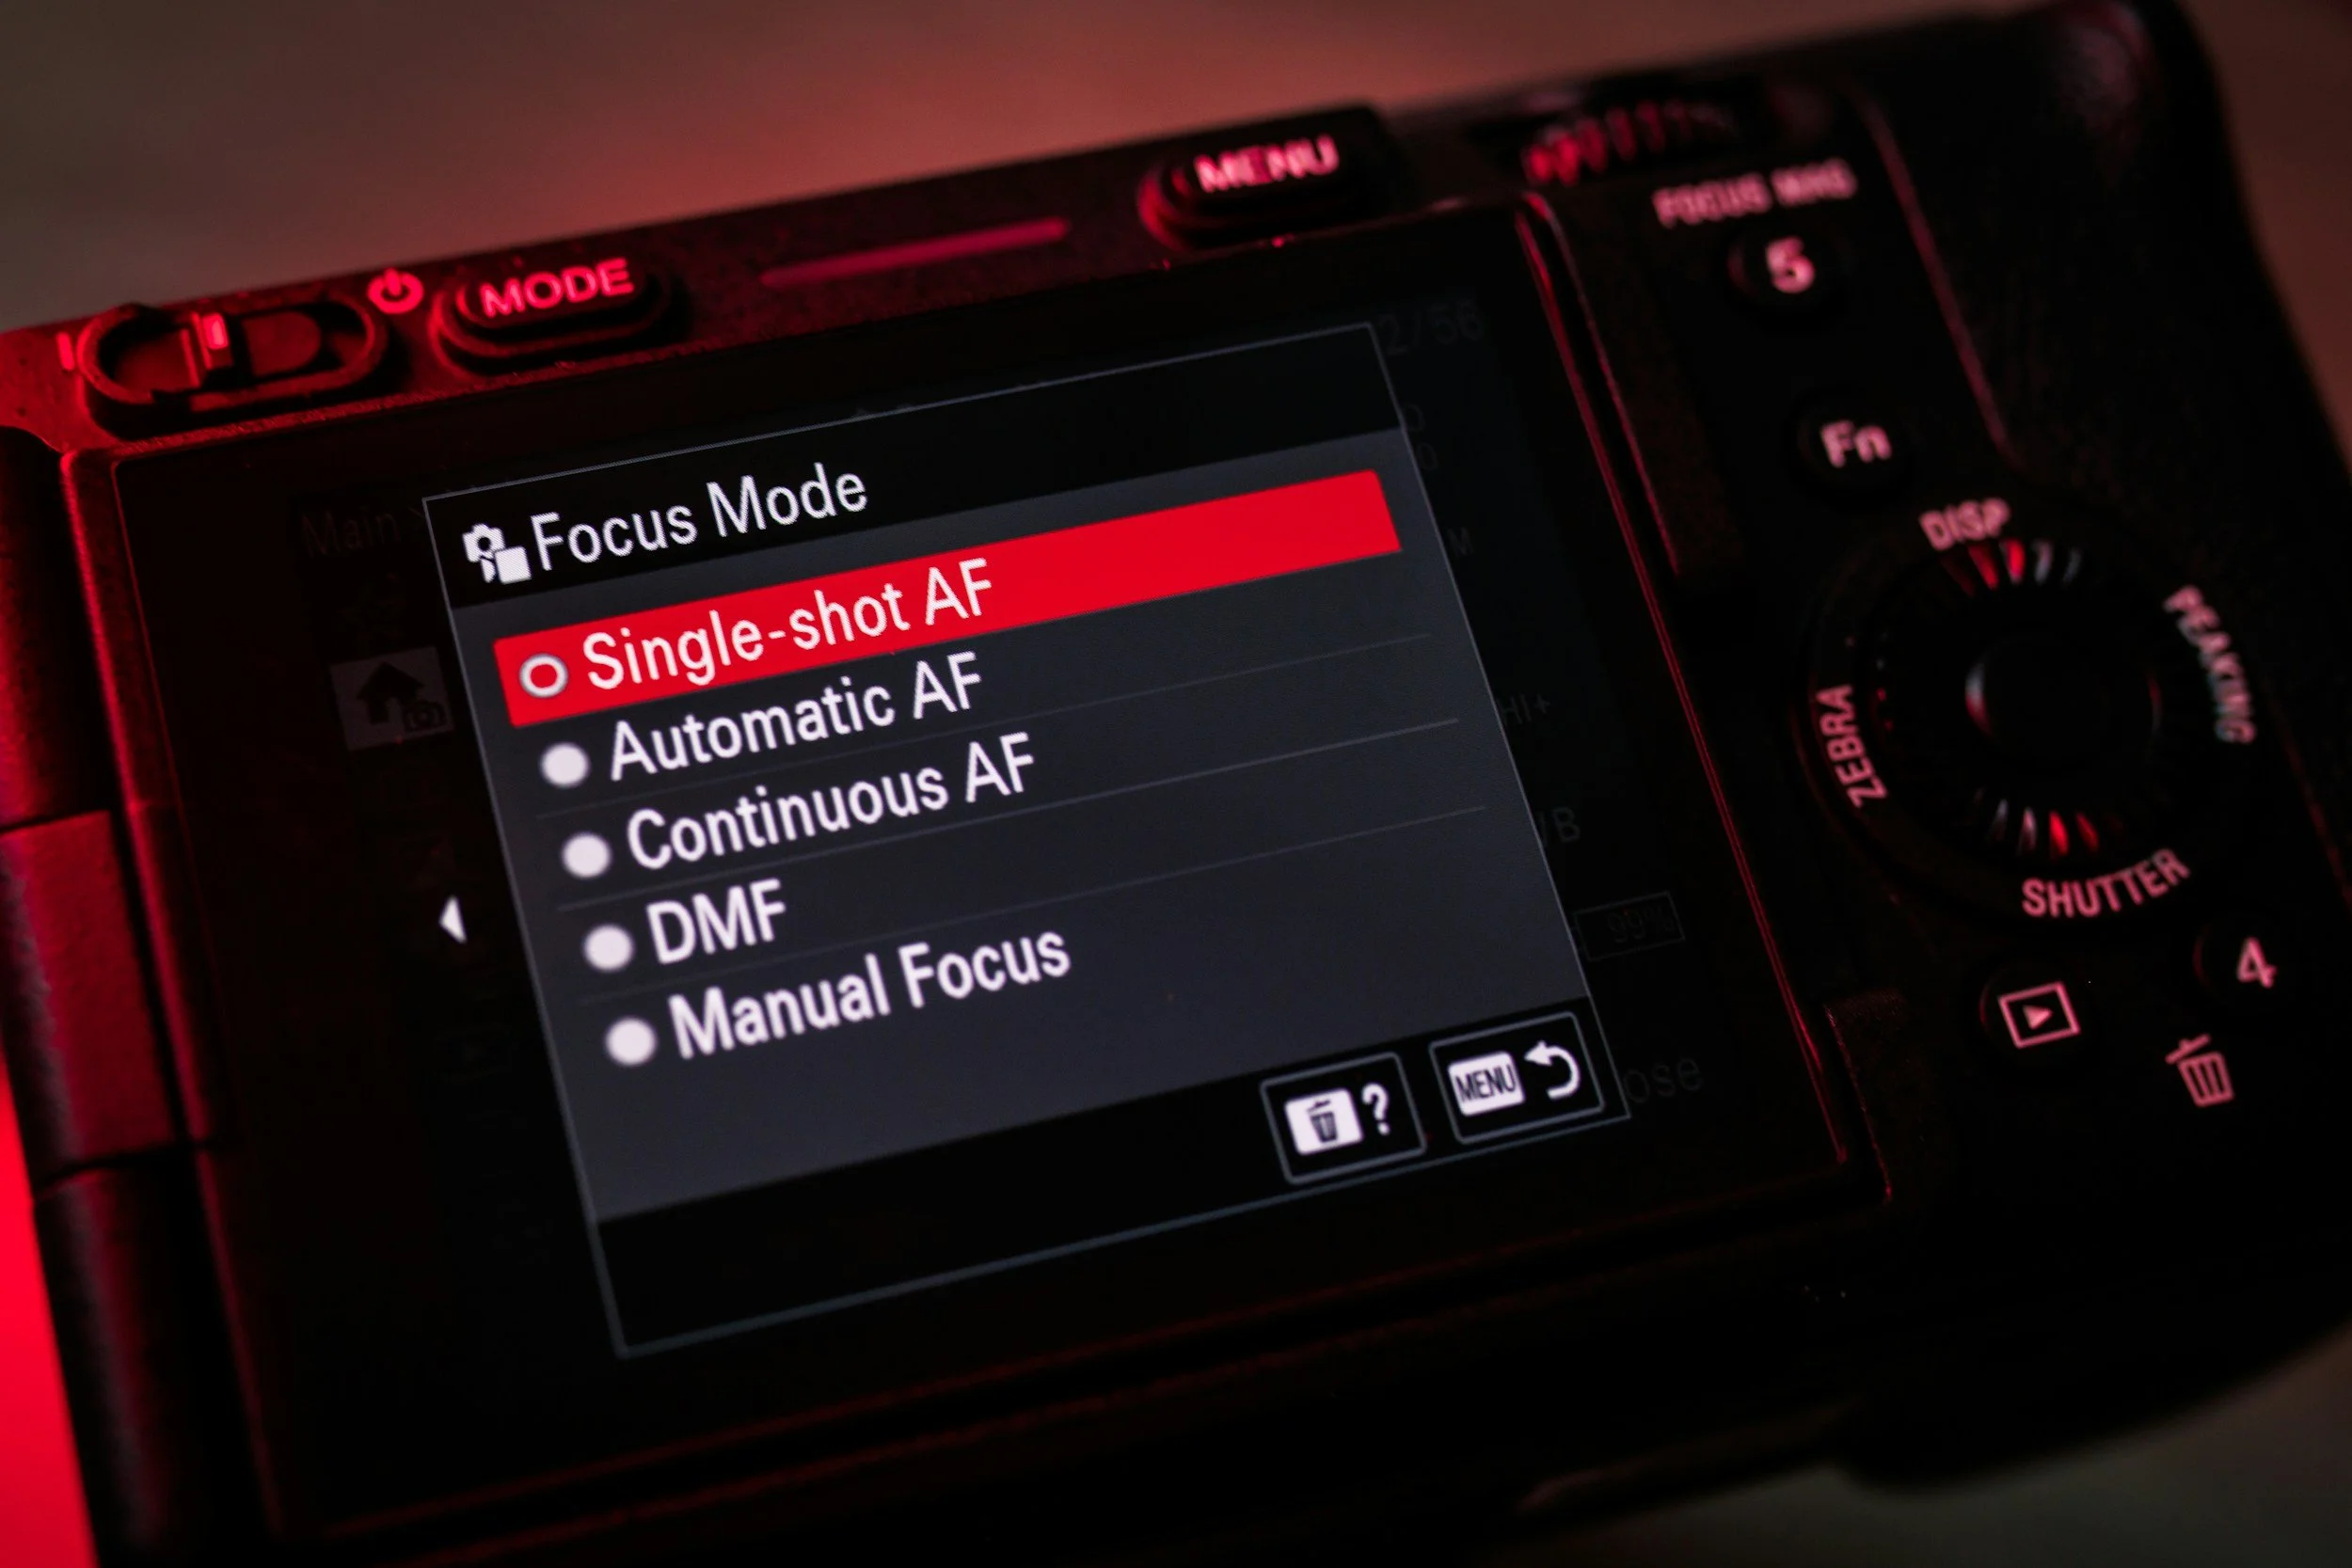
Selecting continuous autofocus will let you track a moving subject with the shutter pressed half way down
Now that your settings are locked in, start firing away! I like like to photograph whales with a variable zoom lens, such as a 100-400mm lens. I’ll start at 100mm to get the whale in frame, then zoom in to get a better view and take the shot.
All of the settings discussed in this post can be practiced before you leave for your trip, and taking just an hour or so to get comfortable with these things will greatly increase your odds of success during your whale watch. If you’d like to check out some practice exercises you can do at home before you leave for your Alaska adventure, click here to download our Free One-Hour Alaska Photography Prep Guide.
If you have any questions, leave a comment below or send me an email at michael@capturealaskatours.com.
Michael Bain
Founder | Capture Alaska
